New printer suddly developed first layer and blobbing issue
I've had my new MK3S for a couple of weeks now. Until recently it was printing perfectly but it has suddenly developed a problem.
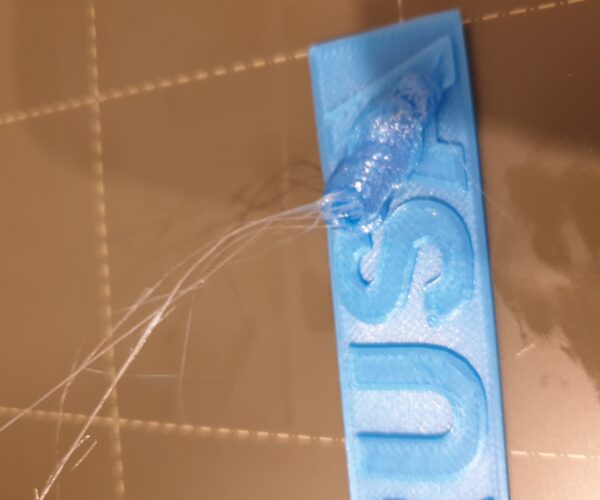
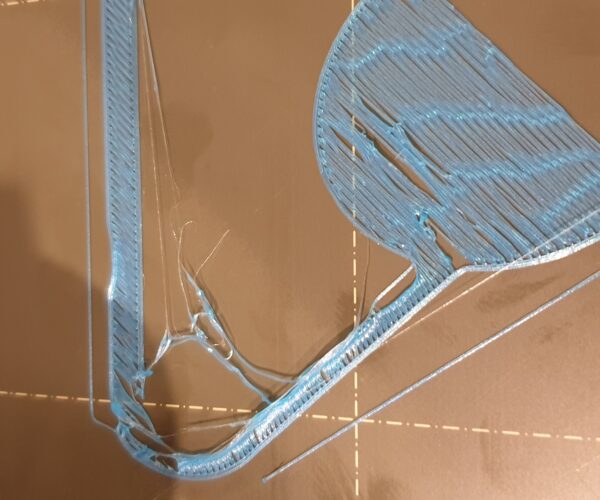
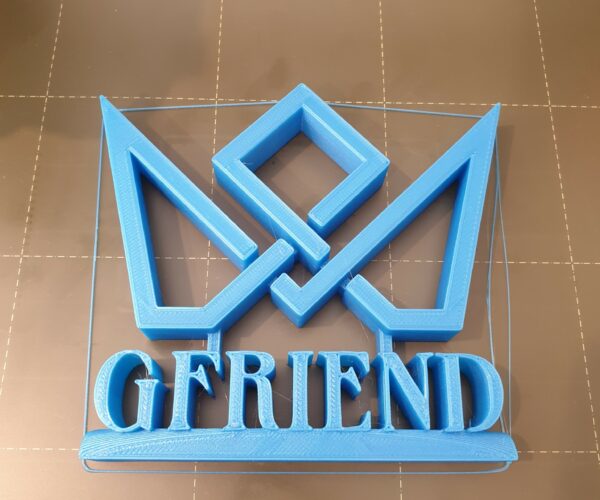
Often whilst printing the first layer it will create blobs of filament and the print will be dragged by the nozzle. When the first layer does go down ok it will create blobs later on. The first layer also looks to me like it might be under-extruding?
Any help greatly appreciated - FYI I have recently updated firmware
RE: New printer suddly developed first layer and blobbing issue
I've had my new MK3S for a couple of weeks now. Until recently it was printing perfectly but it has suddenly developed a problem.
Often whilst printing the first layer it will create blobs of filament and the print will be dragged by the nozzle. When the first layer does go down ok it will create blobs later on. The first layer also looks to me like it might be under-extruding?
Any help greatly appreciated - FYI I have recently updated firmware
As a first measure I would do a nozzle and hotend cleaning (cold pull).
https://help.prusa3d.com/en/article/cold-pull-mk3s-mk2-5s_2075
Additionally I would check the drive pulleys for filament deposits and remove them carefully with a metal tip if necessary.
Statt zu klagen, dass wir nicht alles haben, was wir wollen, sollten wir lieber dankbar sein, dass wir nicht alles bekommen, was wir verdienen.
RE: New printer suddly developed first layer and blobbing issue
You mentioned updating the firmware, did you make sure you grabbed the right version for your printer?
Also, have you tried to write down your live Z settings, reflash the upgrade and then do a factory reset to clear the board to rule out a software issue?
Shane (AKA FromPrusa)
RE: New printer suddly developed first layer and blobbing issue
I think your pics show 2 different issues:
The first pic looks like the print was stopped or your powered off near the end of the print. The hot nozzle hovered over the print and melted the nearby filament. Unless this is a persistent issues, I'd consider this a one-off event.
The second pic is classic Live-Z+bed cleaning. I'm going to give you a big info dump here that covers common issues that new users encounter...
-
A dirty PEI print surface. Even if you don't think this is the cause, it's always a good idea to make sure your PEI surface is clean before trying any other fixes. If it's a smooth PEI sheet, take it to the kitchen sink and give it a good dunk with Dawn (original formula, no vinegar or hand softener variants) dishwashing soap or your local equivalent (e.g. Fairy in UK). Use a clean paper towel to clean it off, and another to dry it. Avoid using any sponge or cloth that has been in contact with grease. Above all else, avoid touching the PEI print surface. Once it's good and clean, you should be able to use 91%+ isopropyl alcohol between prints, 100% acetone when that fails , and another dunk when acetone fails. Worst-case, use a 3M 7445 ScotchBrite pad or equivalent on smooth PEI to give it a very light buff, but only infrequently. If you've got a textured powder-coated PEI print surface, the official instructions are to use 91%+ isopropyl alcohol on it only. Rumors persist that some have had good luck getting started with these sheets by giving them a wipe with 100% acetone and a dunk with Dawn. Either way, there's no real warranty on these sheets. YMMV.
-
If you have not already done so, try using Jeff Jordan's "Life Adjust" procedure for calibrating your Live-Z setting. It is much easier to use and understand than the on-board routine and much easier to make mid-print adjustments accurately with. In general, start high (less negative) and work lower (more negative) in large increments (e.g. 0.1mm) until the filament starts to stick on its own. When you've got your Live-Z setting adjusted properly, you should be able to gently rub the extruded lines on the PEI surface without dislodging them. Then start lowering (more negative) the level until there are no gaps between layers. You should not be able to peel the lines apart after printing, but the top should be regular.
and miscellaneous other tech projects
He is intelligent, but not experienced. His pattern indicates two dimensional thinking. -- Spock in Star Trek: The Wrath of Khan Unfortunately,…
RE: New printer suddly developed first layer and blobbing issue
On re-examining that 1st pic, it's the same issue. The PRUSA logo appears to have come loose from the bed and was dragged around as the extruder continued pushing out hot filament. Since the part was wobbling, you wound up with the blob on top. You got lucky because the alternative ending would either be a mound of spaghetti, or a nasty Blob of Doom encasing your hotend! Keep an eye throughout prints until you get the hang of good bed adhesion.
and miscellaneous other tech projects
He is intelligent, but not experienced. His pattern indicates two dimensional thinking. -- Spock in Star Trek: The Wrath of Khan Unfortunately,…
RE: New printer suddly developed first layer and blobbing issue
Wow, thank you everybody for your replies 🙂
I did a cold pull last night and there was a bit of blackness on the filament so I think that may have contributed. I might do another one today to make sure everything is out.
I double checked the firmware and it is the correct one.
I cleaned the bed with dish washing soap and water but I don't have any isopropyl alcohol - the chat support guy suggested window cleaner - what are your thoughts?
I will have a go using the life adjust this afternoon and post some pics
I am used to my old ender 3 - loving the new MK3S btw - what a step up 🙂
RE: New printer suddly developed first layer and blobbing issue
From the photos, fingerprints are NOT your friend. Never touch the PEI print surface. Cleaning is best done with soap and water. But most important is to not get the print bed dirty in the first place. A single finger print will ruin a part. Bob's post is thorough, so I'm just piling on that keeping the print surface clean is far more important than one normally thinks.
Second issue seems to be your layer one is starting too high. Said another way, your Live-Z is too positive. You need to lower Live-Z farther to get the nozzle closer to the print sheet.
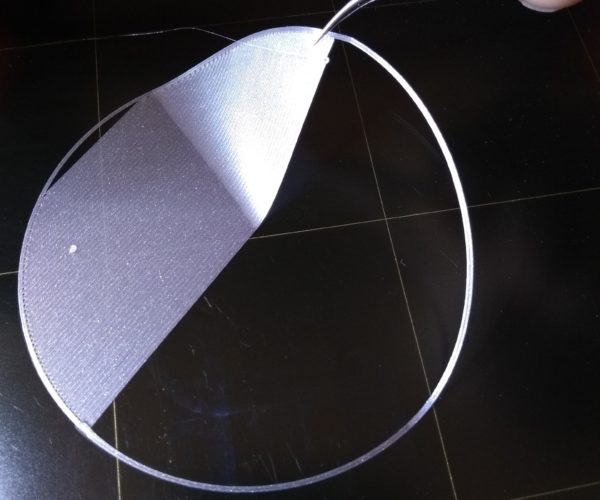
Try printing a test sheet like this: you have time to adjust and see the results of changing Live-Z. In the end, you want a flat, smooth, single sheet of plastic with no gaps or stringing between rows.
Cal-Circles .zip
ps: No alcohol - No window cleaner. Soap and water is all you need to use.
As you gain experience, Window Cleaner is used to help keep things from sticking too well. But not with PLA.
RE: New printer suddly developed first layer and blobbing issue
I washed the bed again! 😉
I did another cold pull
I used the life adjust gcode to calibrate my z setting - I found this much easier to judge than the one on the printer. I did need to change it so I obviously hadn't got it quite right.
Then I tried another print and.... it worked 🙂
Thank you prusaprinters peeps - you're awesome
I shall avoid touching the bed as much as possible from now on.


